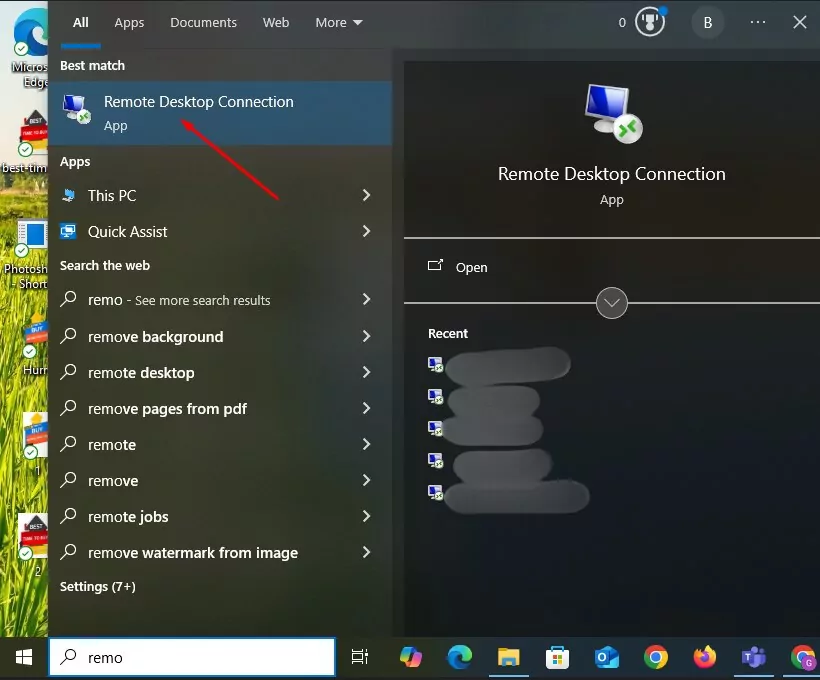
Go to the Windows Start menu and search for ‘Remote Desktop Connection’. Open the application to begin the process.
Step 2: Enter IP Address and Username
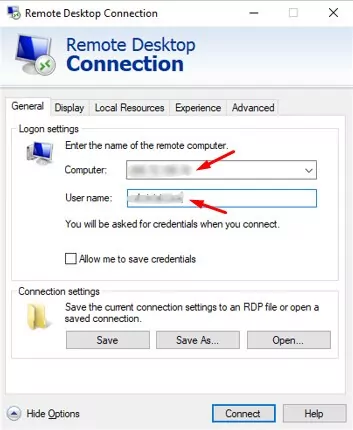
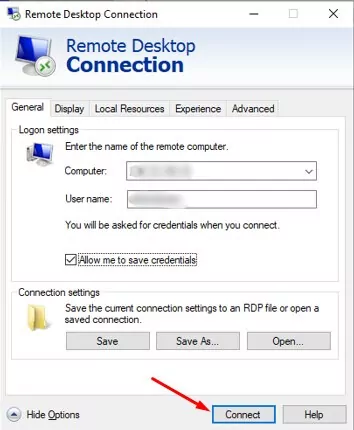
In the Remote Desktop Connection window, enter the IP address of your VPS in the ‘Computer’ field. Click ‘Show Options’ to enter your username under the ‘User name’ field
Step 3: Save Your Credentials
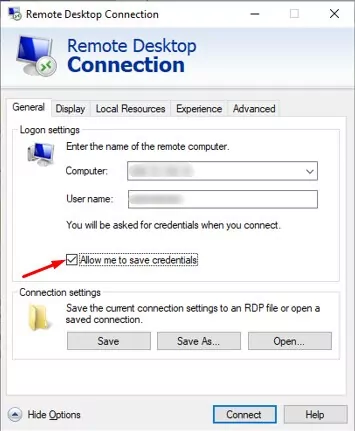
Check the box labeled ‘Allow me to save credentials’ so you don’t have to enter them every time you connect.
Step 4: Save the Shortcut
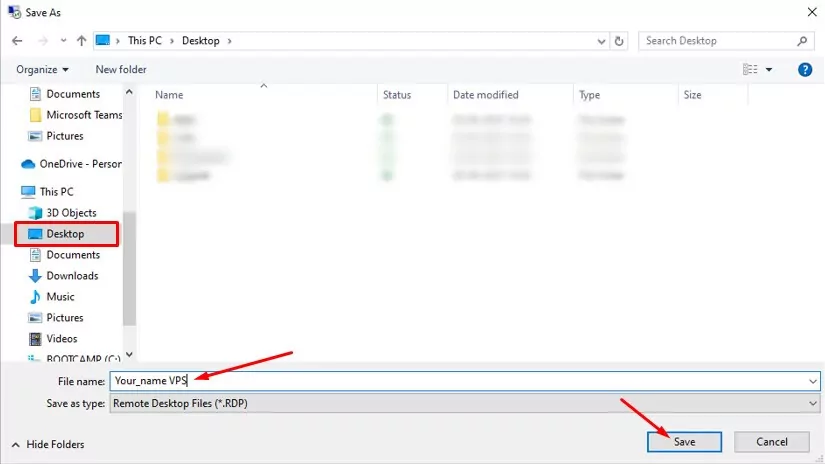
Click on the ‘Save As…’ button to create a shortcut of the RDP connection. Save it to your desktop for quick access in the future.
Step 5: Connect to VPS
Click the ‘Connect’ button to initiate the remote desktop connection with the entered IP and credentials.
Step 6: Security Prompt
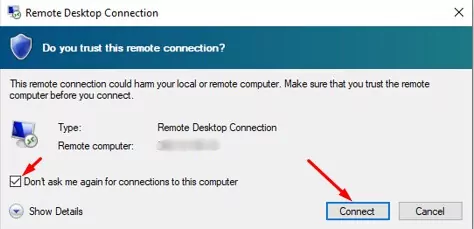
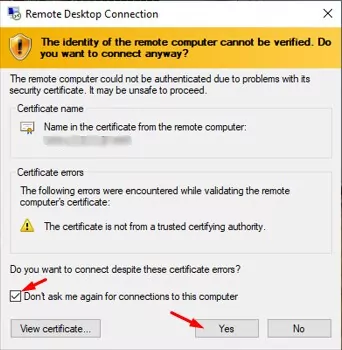
If you receive a certificate or security warning, check ‘Don’t ask me again for connections to this computer’ and click ‘Yes’ to proceed.
Step 7: Enter Password
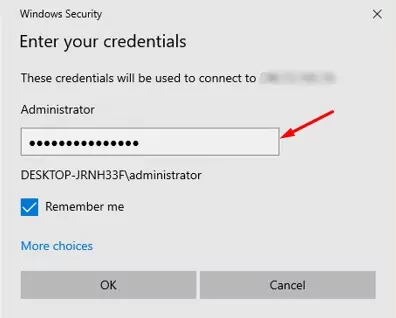
A login prompt will appear. Enter the password associated with the entered username and click ‘OK’.
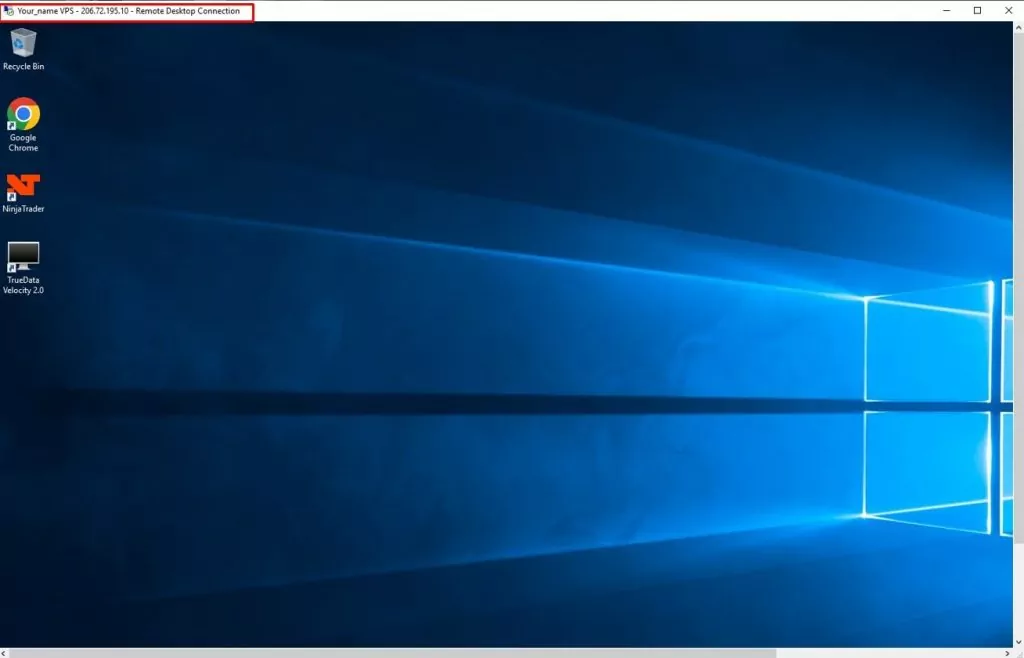
Step 8: Establishing Connection
The system will verify your credentials and log you into your VPS. Wait a few moments while the remote session loads.
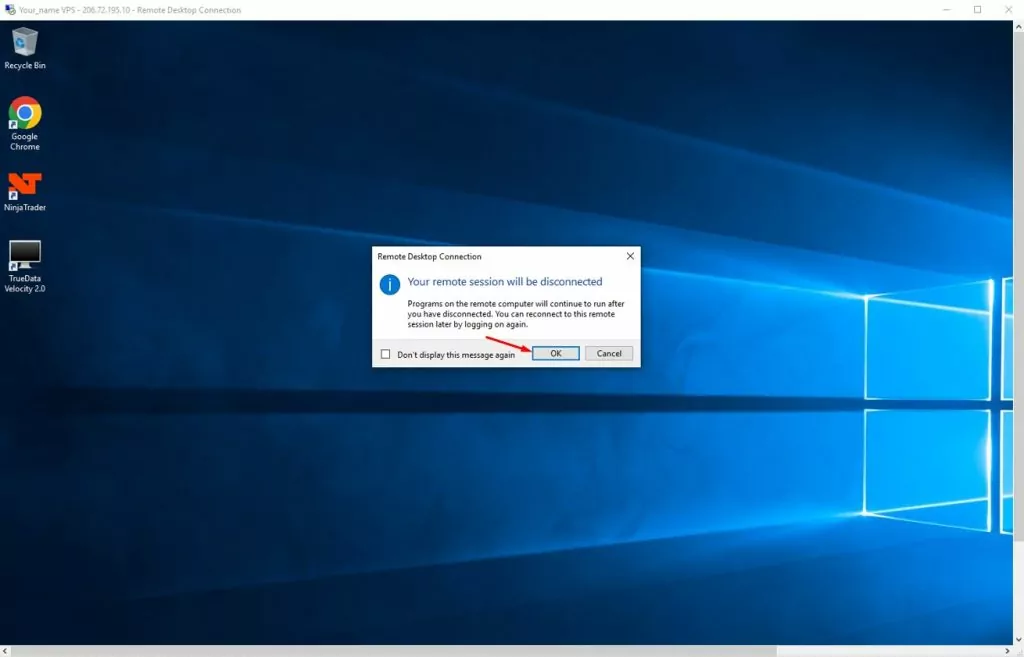
Step 9: Reconnect Data Feed
Once logged in, disconnect and reconnect your data feed to ensure stable operation.