How to use Bell Marker Tool?

How to use Bell Marker Tool?

To configure or review the marker settings shown in the properties window, you can use either of the following methods:

  1. Double-click the marker directly on the chart to instantly open the Properties panel.
  2. Right-click the marker to open the context menu, then select “Properties” from the popup options.

Both methods will open the same configuration dialog, where you can adjust parameters, targets, visibility, colors, levels and other marker-related settings.

Horizontal Adjustment – Moving Levels Left or Right

In addition to vertical repositioning, each plotted level can also be adjusted horizontally. This allows you to change the forward or backward placement of the level labels and extension lines on the chart without altering their price values.

How Horizontal Movement Works

  • Each level includes a small control dot (handle) on the line.
  • This handle is used specifically for horizontal repositioning.
  • Dragging the handle left or right shifts the level’s on-chart placement only.
  • The actual price level remains unchanged during this adjustment.

Steps to Move a Level Left or Right

  1. Locate the level line you want to adjust on the chart.
  2. Move the cursor over the control dot (handle) on the level.
  3. Press and hold the left mouse button on the dot.
  4. Drag horizontally to the left or right as required.
  5. Release the mouse button to set the new horizontal position.

How to move the marker together lines vertically?(default it is enabled)

The Move Lines Together setting enables grouped movement of all associated levels within the selected drawing tool. When this option is turned on, every configured level (such as Entry, Risk Limit and ME-levels) will shift together while preserving their relative spacing.

How to Enable and Use Move Lines Together

  1. Open the drawing object Properties window.
  2. Navigate to the Parameters section.
  3. Enable the checkbox labeled Move Lines Together.
  4. Click OK or Apply to confirm the changes.
  5. Return to the chart and position your cursor on the left edge of any level line.
  6. Click and hold the left mouse button.
  7. Drag upward or downward to move the full set of levels simultaneously.
  8. Release the mouse button to place the levels at the desired price area.

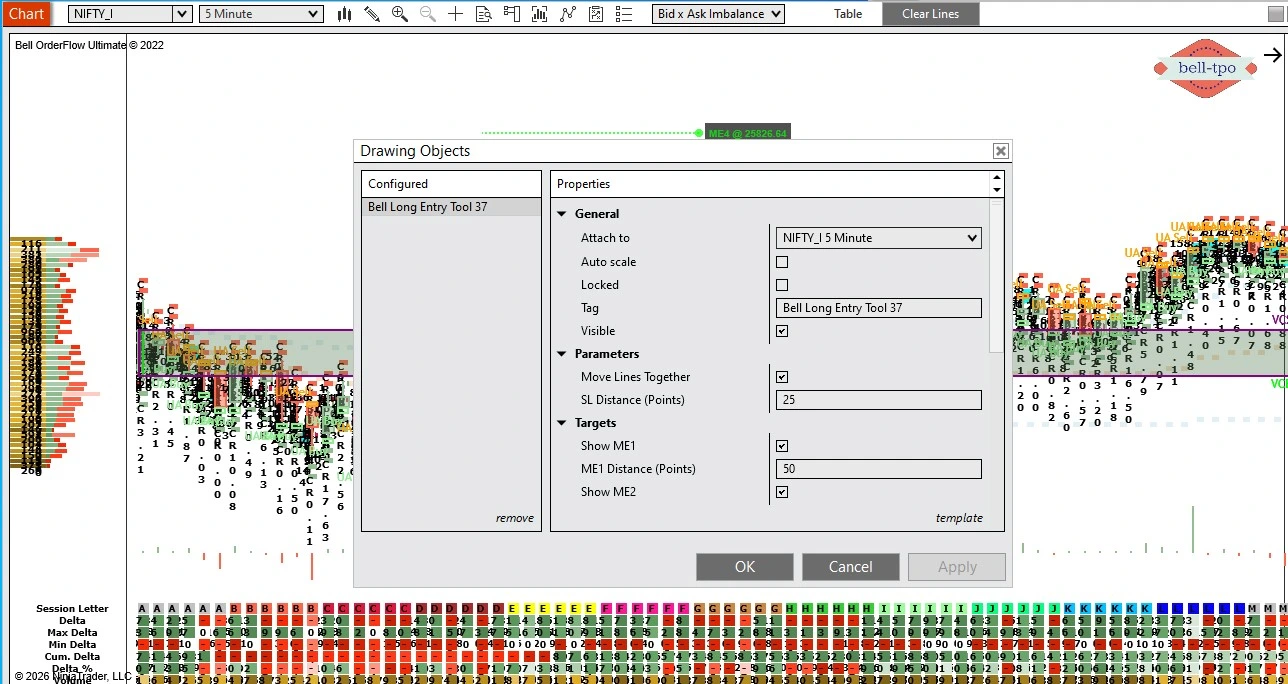
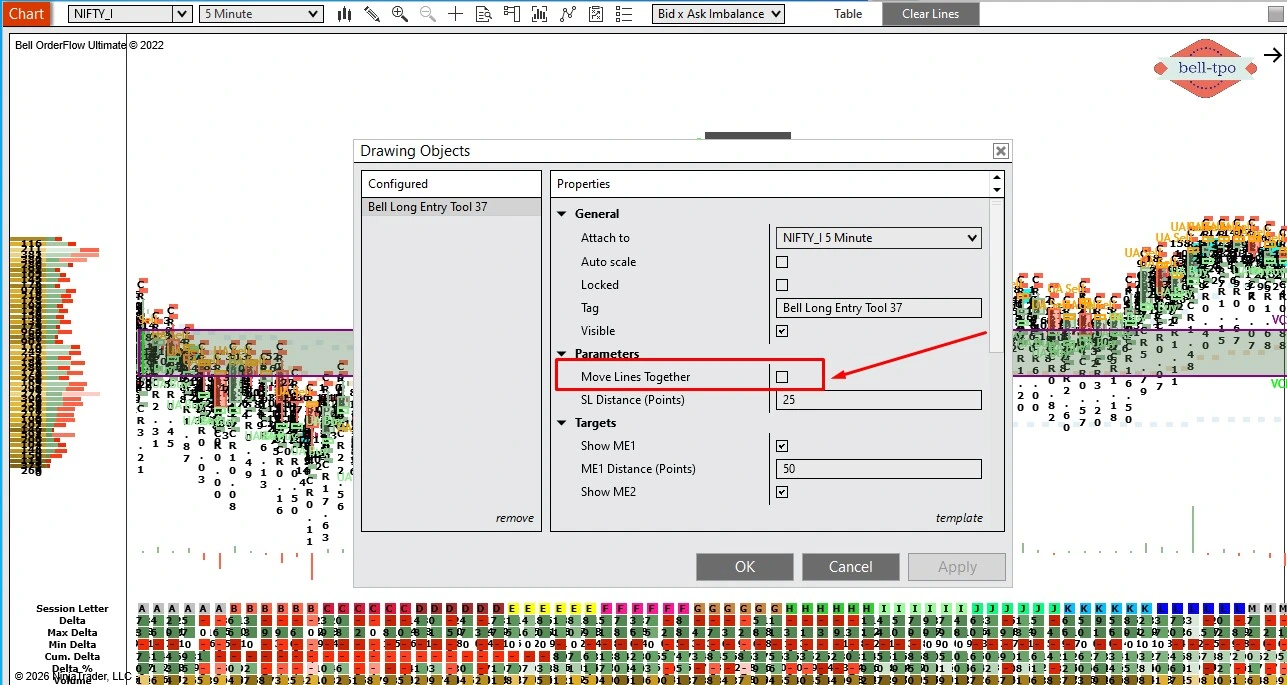
How to move the marker line individually?

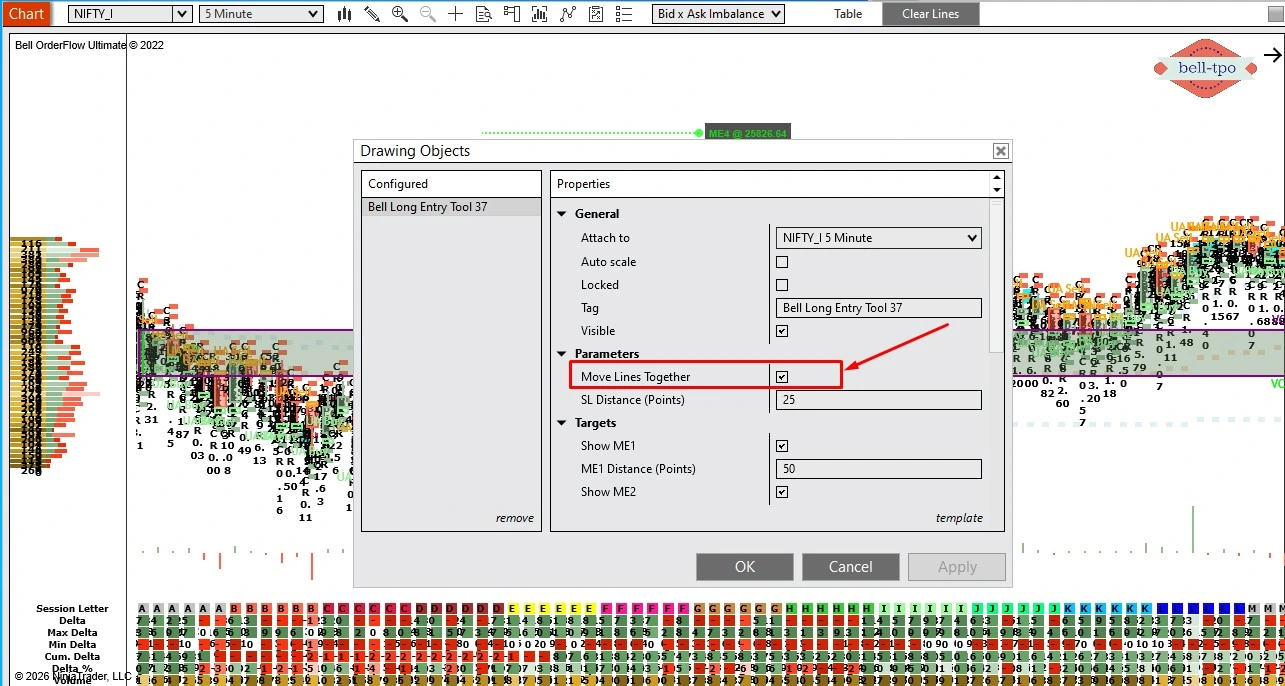
When the Move Lines Together option is disabled in the drawing tool Properties, each level behaves independently. This allows you to adjust specific levels — such as Entry, Risk Limit, or ME targets — without affecting the position of the other lines.

Behavior with Move Lines Together Unchecked

  • Each level can be repositioned separately.
  • Dragging one level does not shift the remaining levels.
  • Relative spacing between levels is not preserved automatically.
  • Suitable for fine-tuning or custom placement of individual levels.

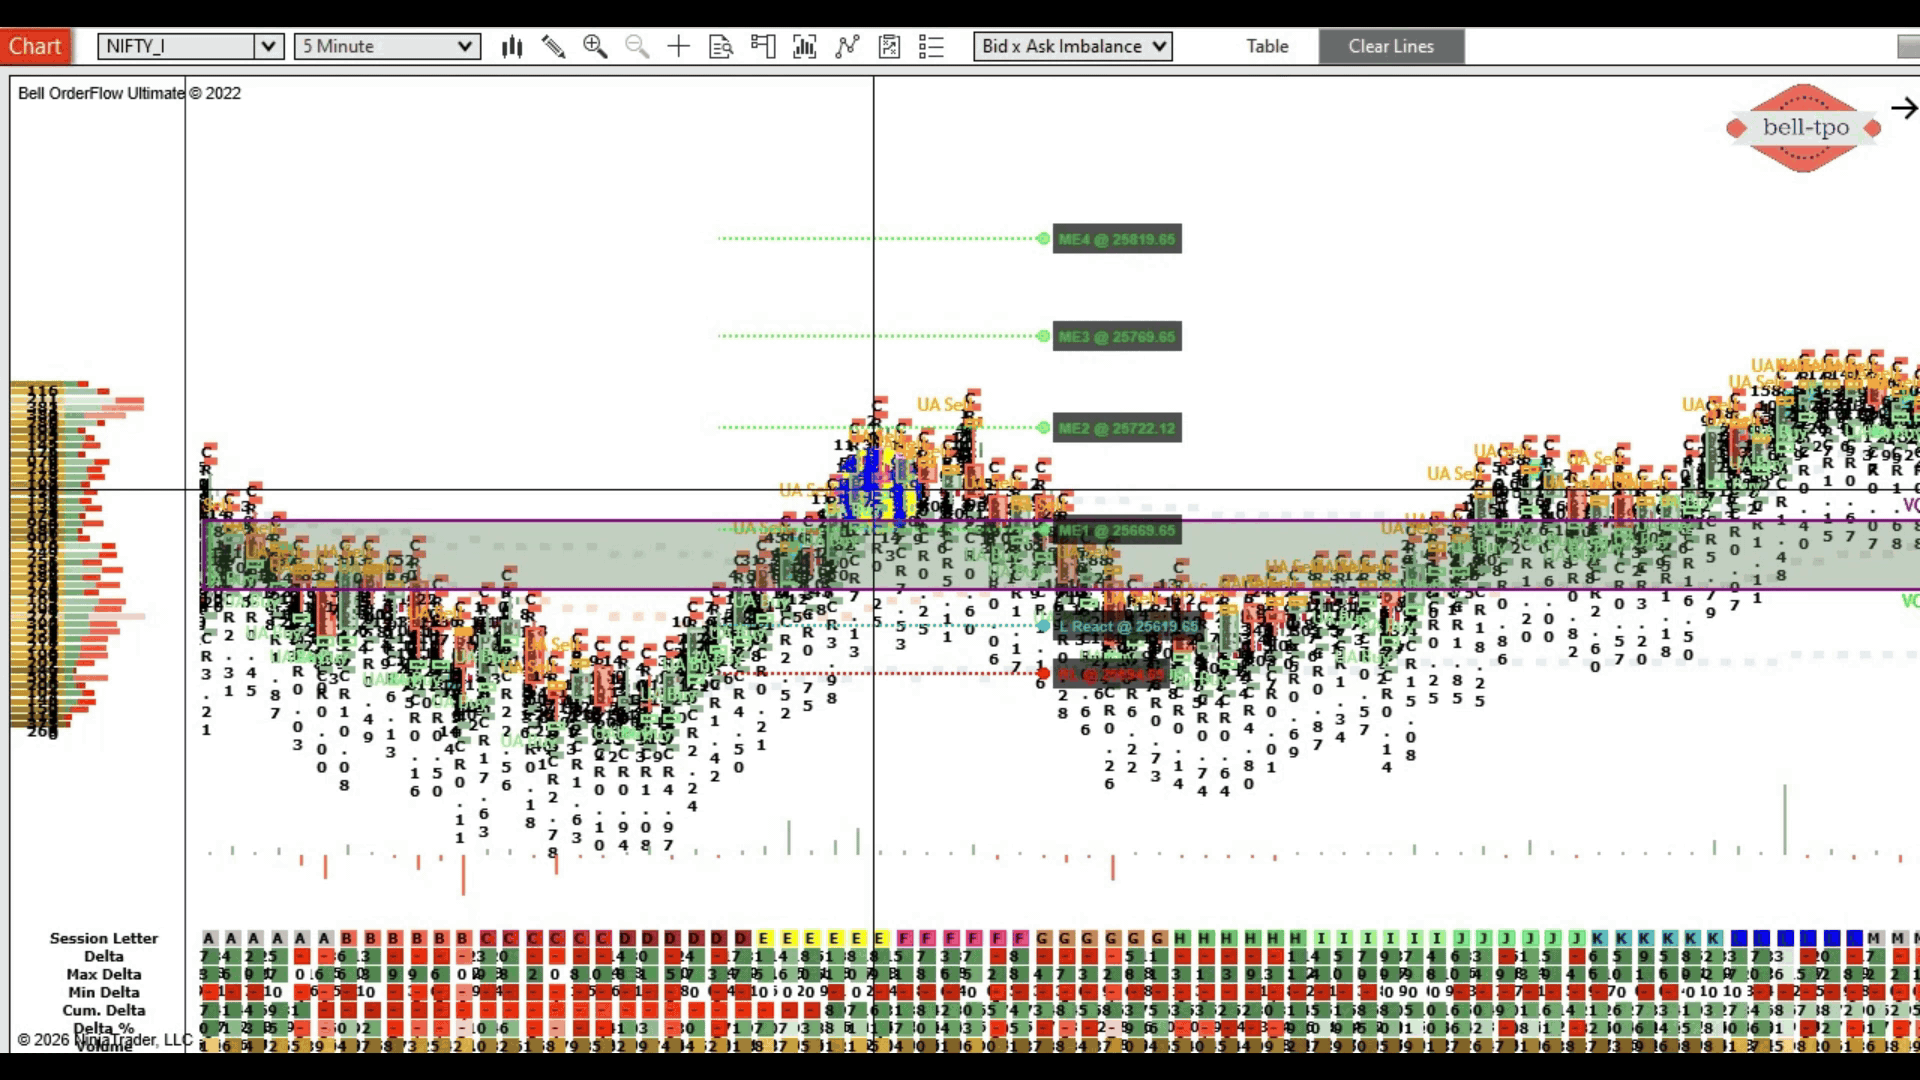
Steps to Move a Single Level

  1. Open the drawing object Properties window.
  2. Under Parameters, ensure Move Lines Together is unchecked.
  3. Click OK or Apply to save the setting.
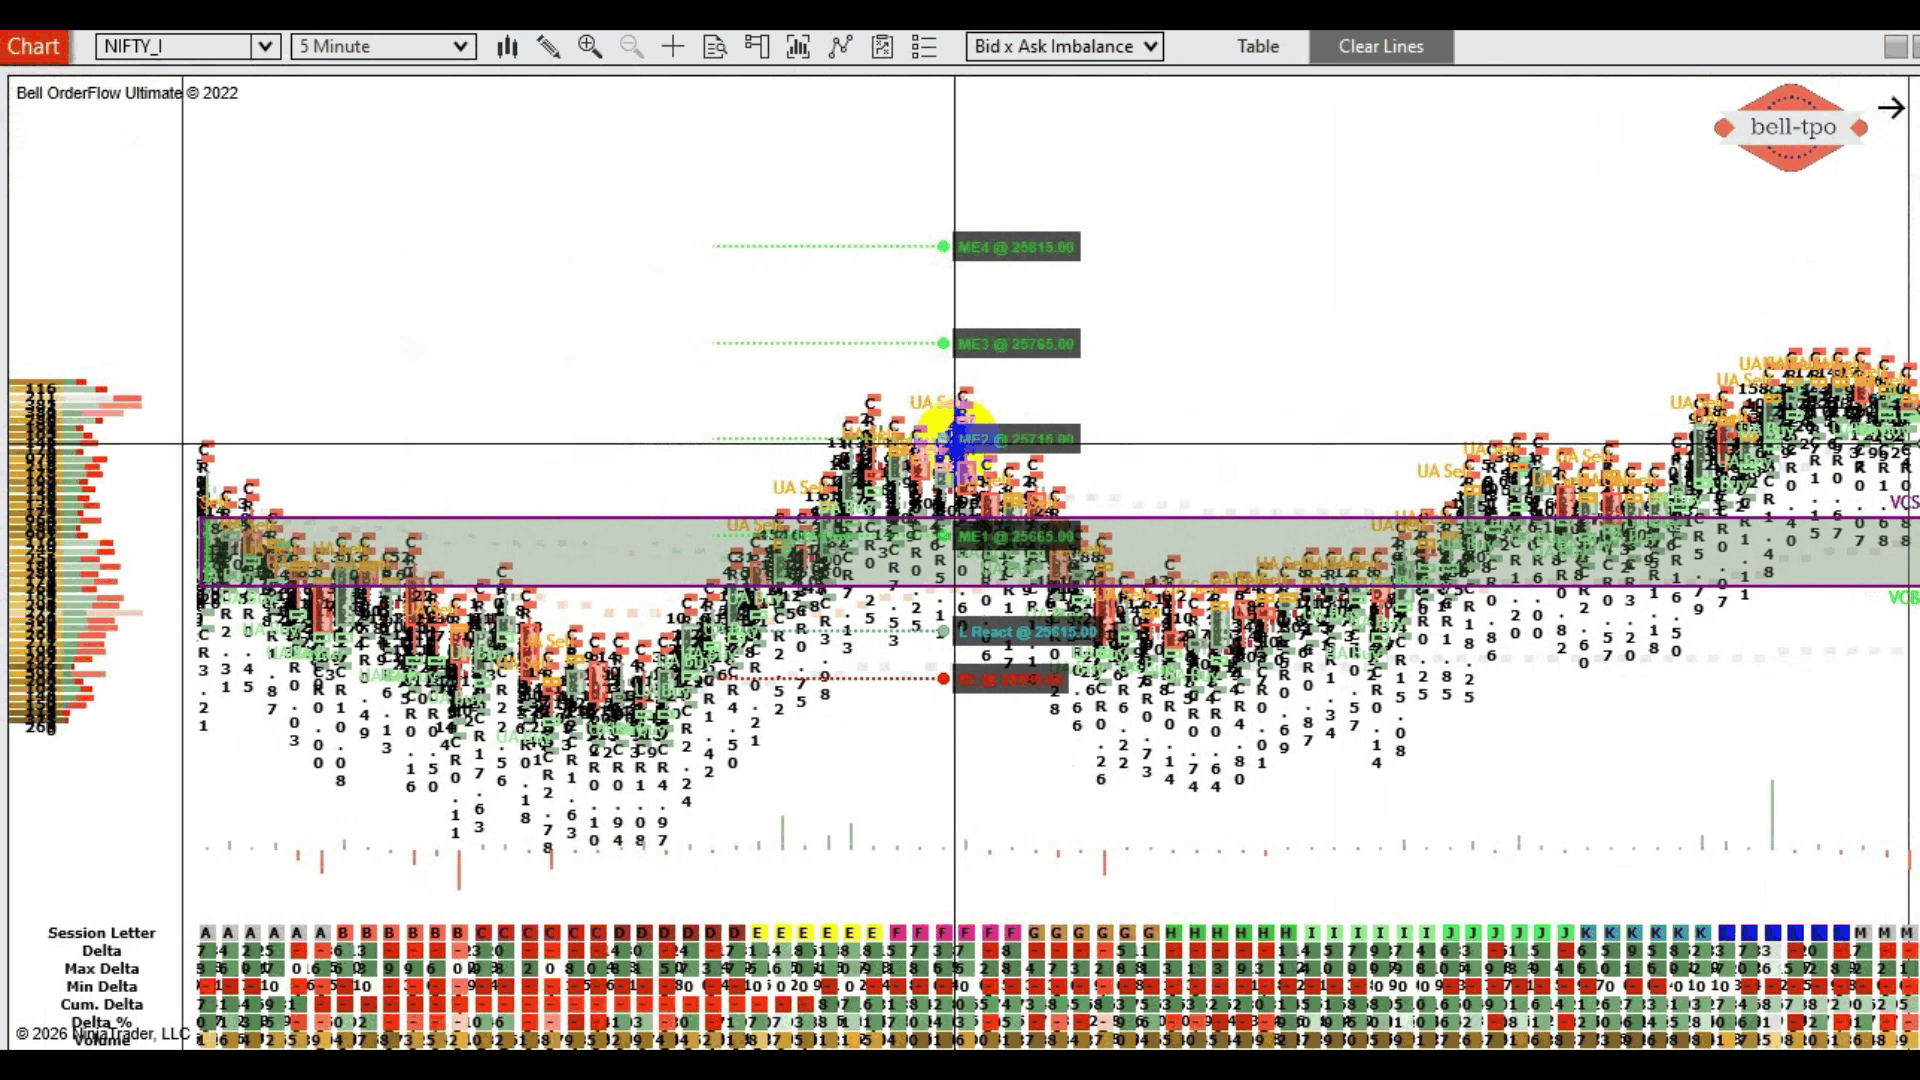
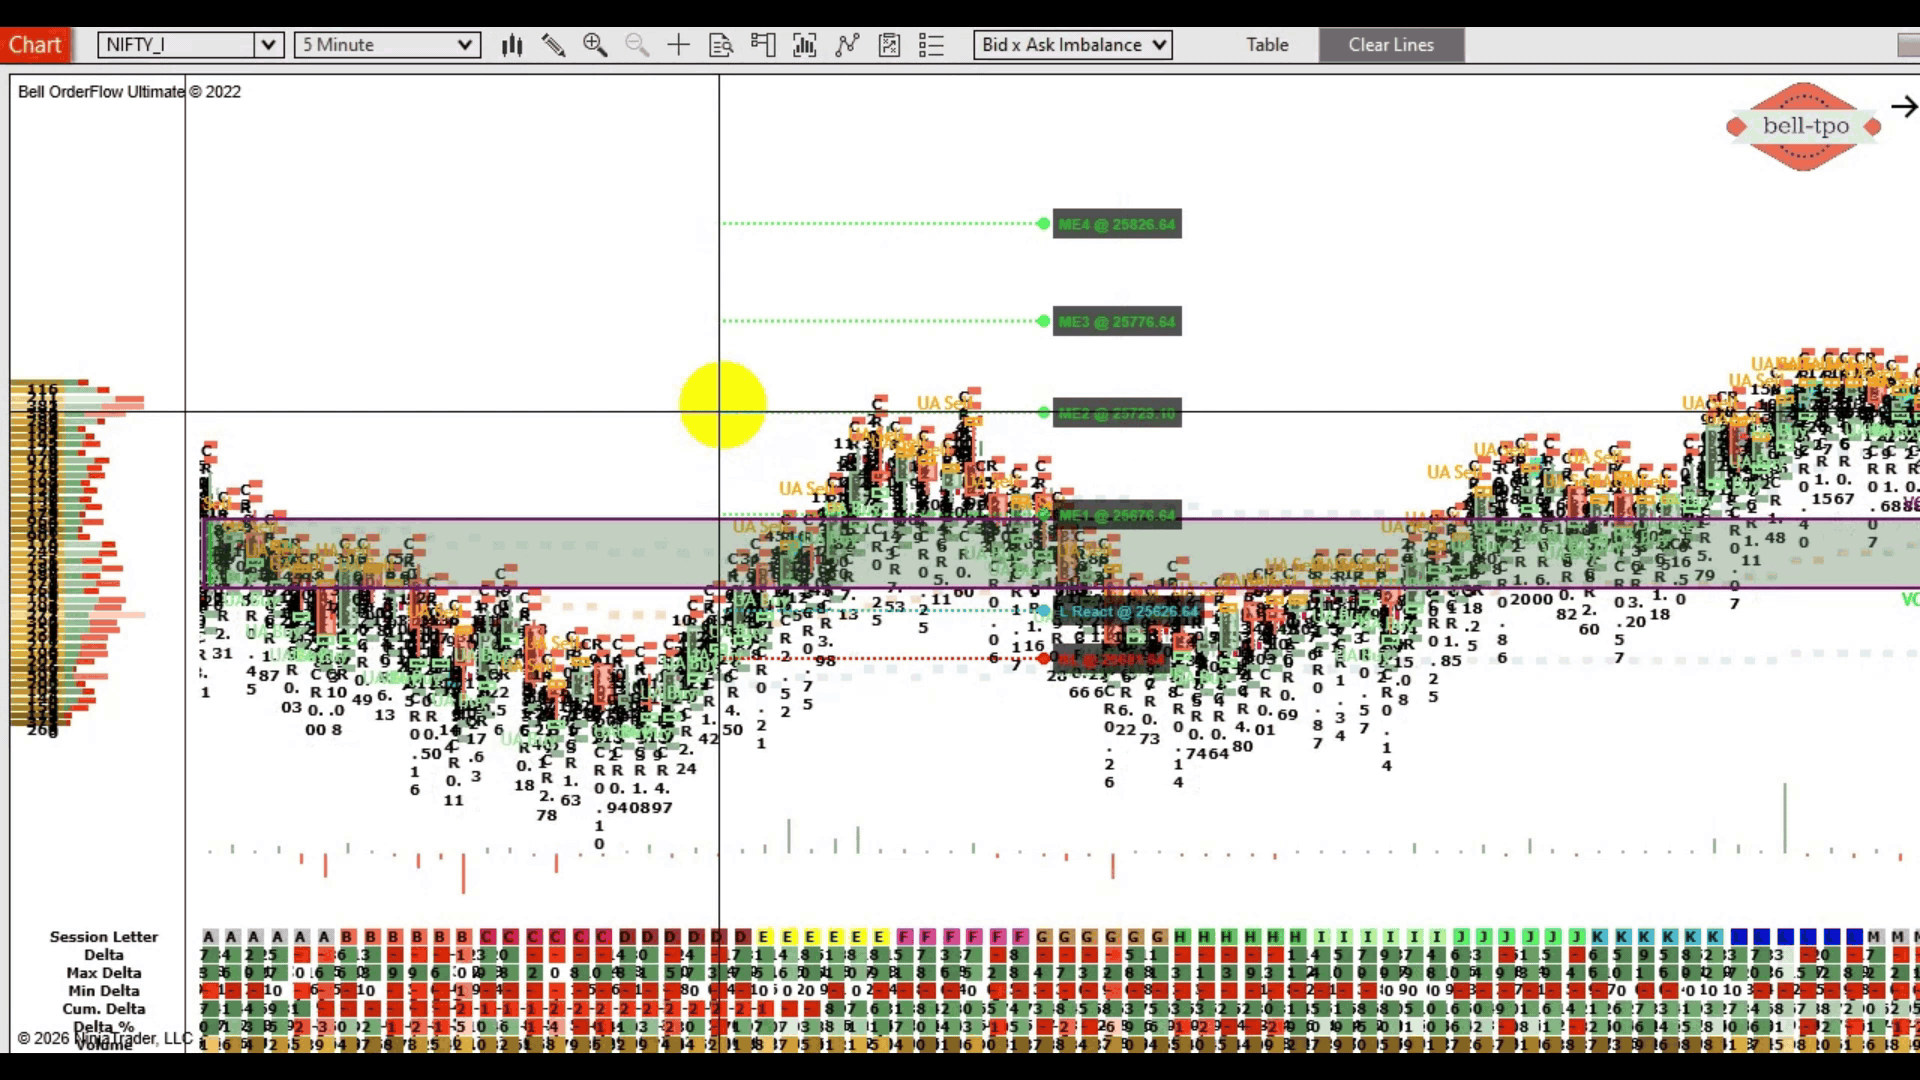
  4. On the chart, move the cursor to the left edge of the specific level line you want to adjust.
  5. Press and hold the left mouse button.
  6. Drag the line upward or downward to the required price level.
  7. Release the mouse button to set the new position.
0
    0
    Your Cart
    Your cart is emptyReturn to Shop